Did you know that IDEA has released a revamp of the storage area page which changed how storages can be organized by different layers?
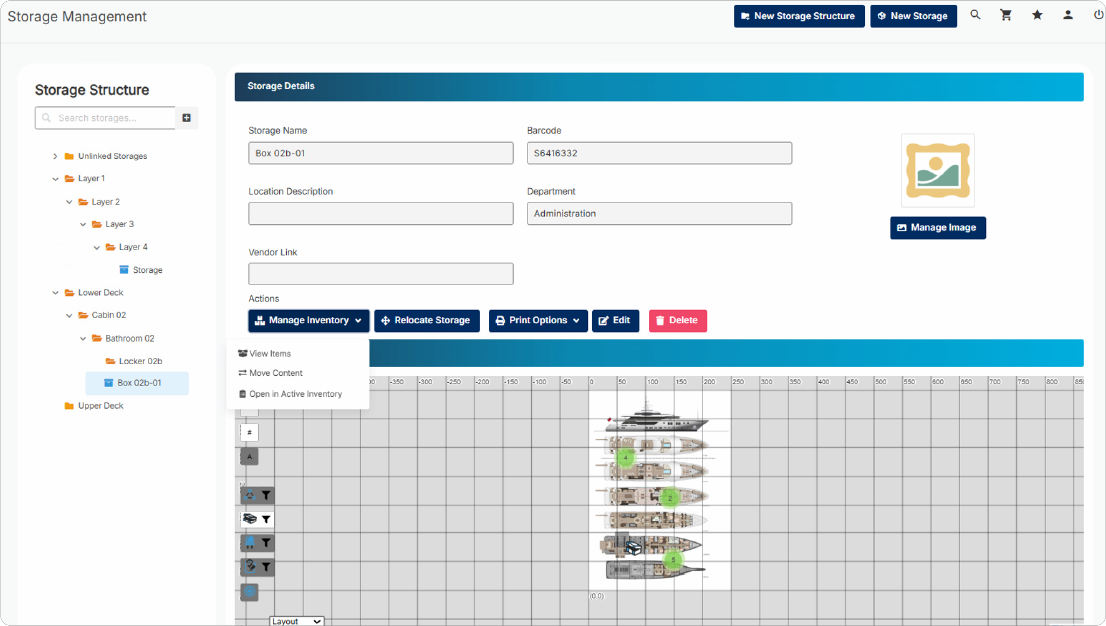
The old system did only allow a flat hierarchy of storages, you were only able to organize the strorages through their name. 
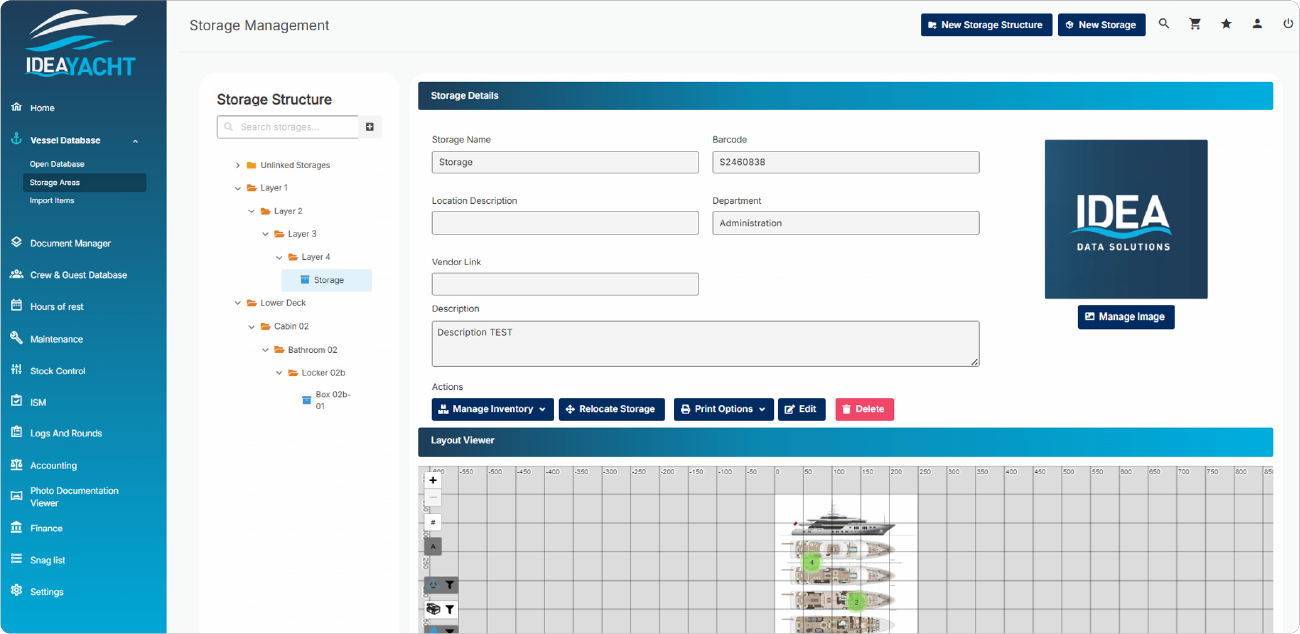
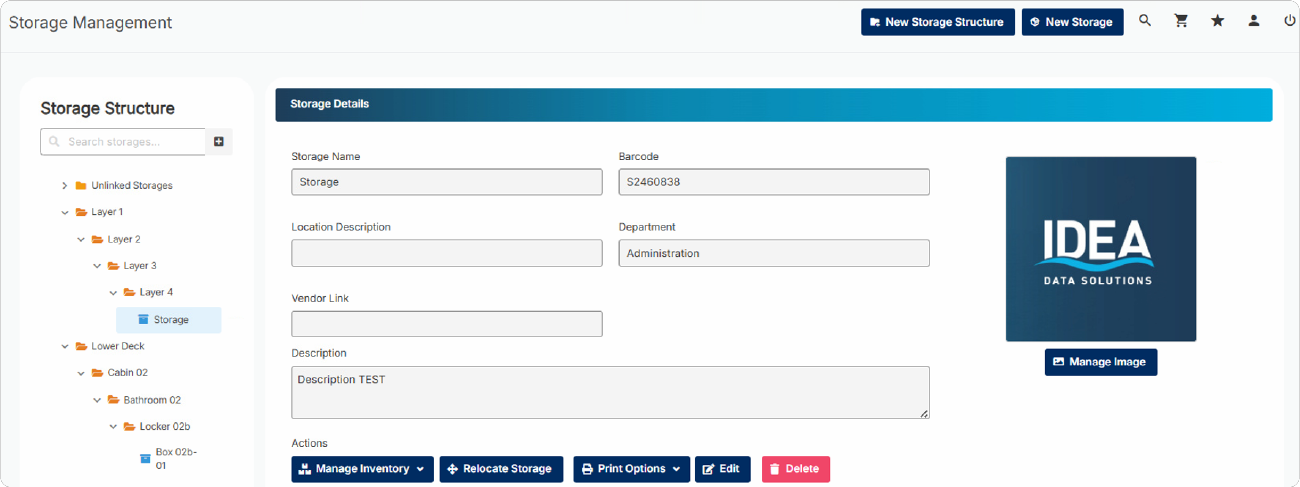
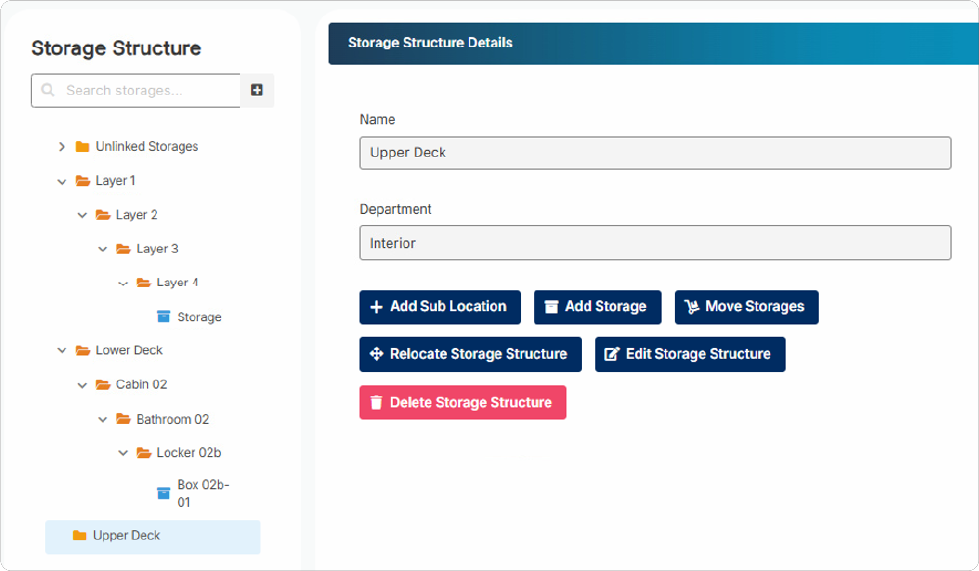
With the new system IDEA allows up to 4 custom layers and the storage itself. If you need all 4 or only utilize the first 2 for example is fully up to you. For example you could organize your storage by their location starting with the deck, if its aft or forw, stbd or ps, room number, locker and then the box in this locker would be the storage. IDEA instances that were updated to the new system will of course not have their existing storages automatically distributed into any structure. Instead the old storages will located in a default folder called Unlinked Storages. 
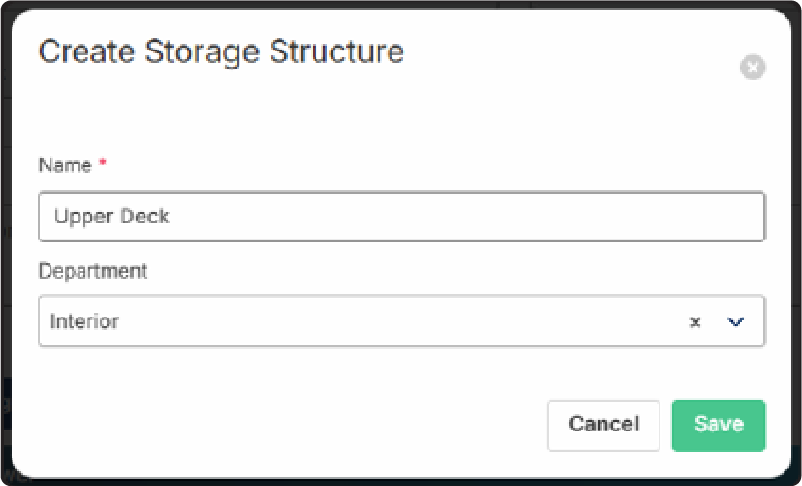
You can either leave your storages this way and use the system as before or you can start adding a structure that fits your demands and then deploy your storages accordingly.
In order to add new main layers click on the New Storage Structure button at the top.
Enter the name of the layer and the department in charge.
From here you can add sub layers from this layers details by clicking the layer in the left tree view:
You can add further sub structures by clicking the Add Sub Location button, adding a storage under the current structure or Relocate Storage Structure within your left tree.
You can also edit the current entry, delete it (if empty) or move all its containing storages into another location via the Move Storage button:

Layers and Storages can also relocated via drag and drop in the tree view. For this you need to click and hold the icon right from the name and then move the folder or storage into the target location.

When you click on a storage the details view changes and displays further options and a layout overview where you can set and see the location in your GA.

By clicking the Manage Inventory button you can directly open the active inventory page for this storage, view its content or move its content (partly or all) into another storage:

Last but not least you also have several report options when clicking on a storage where you can print a barcode label for the storage, barcode labels for the spares of this storage or a content report.

Dirk has been working at IDEA since 2010, and is one of our veterans with 4,695 tickets solved in the last 2 years alone. Dirk is on hand to give expert support! This column answers your most common questions!